Digital VOI (Verification of Identity) is one of the most efficient, convenient and cost effective methods of verifying your client’s identity.
It’s not only convenient for your business to use, but it allows your client a far greater experience. By using digital VOI, your client can submit documents, take verifying images and submit the VOI all form the comfort of their home, at their convenience.
Digital VOI solution, triVOI, is designed to ensure your business minimises cyber-risk, saves cost, and improves its reputation while providing your client the convenience and safety to conduct their VOI at a convenience location in 10 minutes.
To help, we’ve created a simple step-by-step processes to minimise the risk of experiencing fraudulent behaviour, and ensure you conduct the digital VOI efficiently.
The eight step guide to completing Verification of Identity from anywhere for your client, using triVOI is as follows:
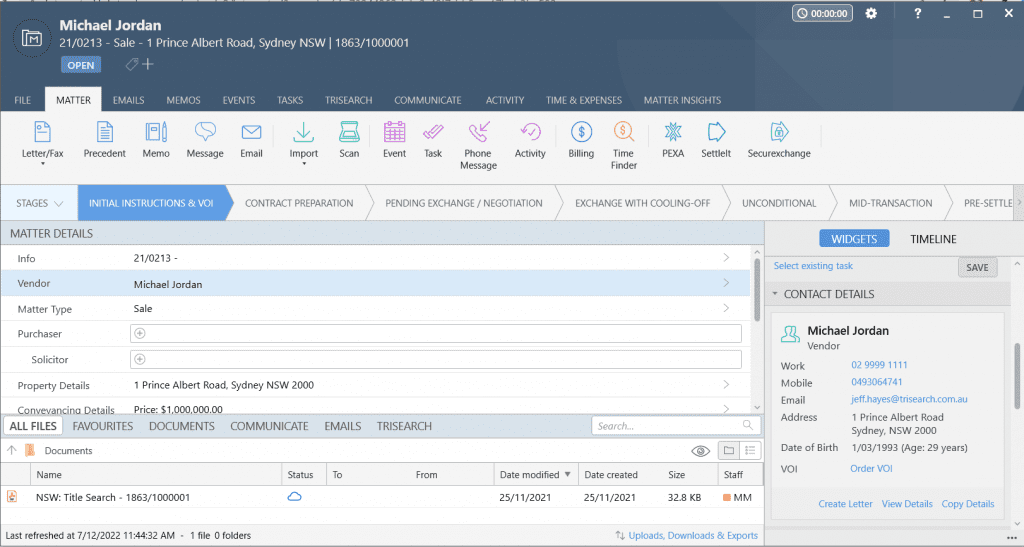
1. Launch VOI
Open triVOI on your phone or tablet in a browser via the triSearch platform or a contact card from within your matter in triConvey.
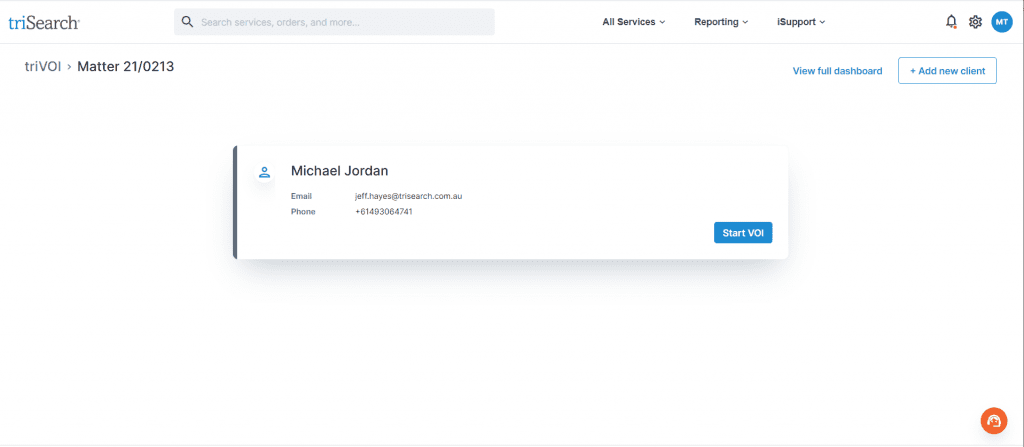
2. Start Verification
After you log in it will bring you to this screen where you have the ability to view previous, pending or saved verifications. Select a new verification order.
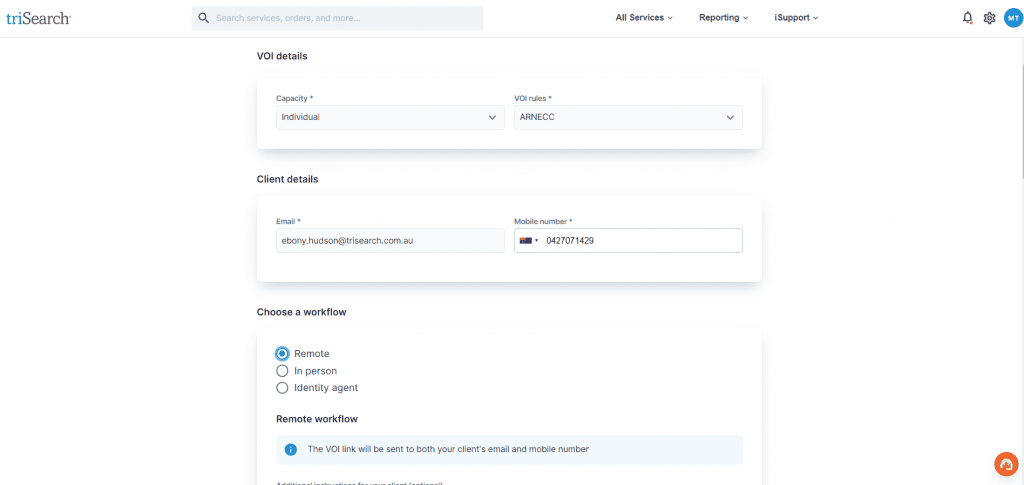
3. Select Verification Type
Fill in all relevant fields and choose your elected verification type. Make sure the email address is entered correctly as the VOI link will be emailed to the client.
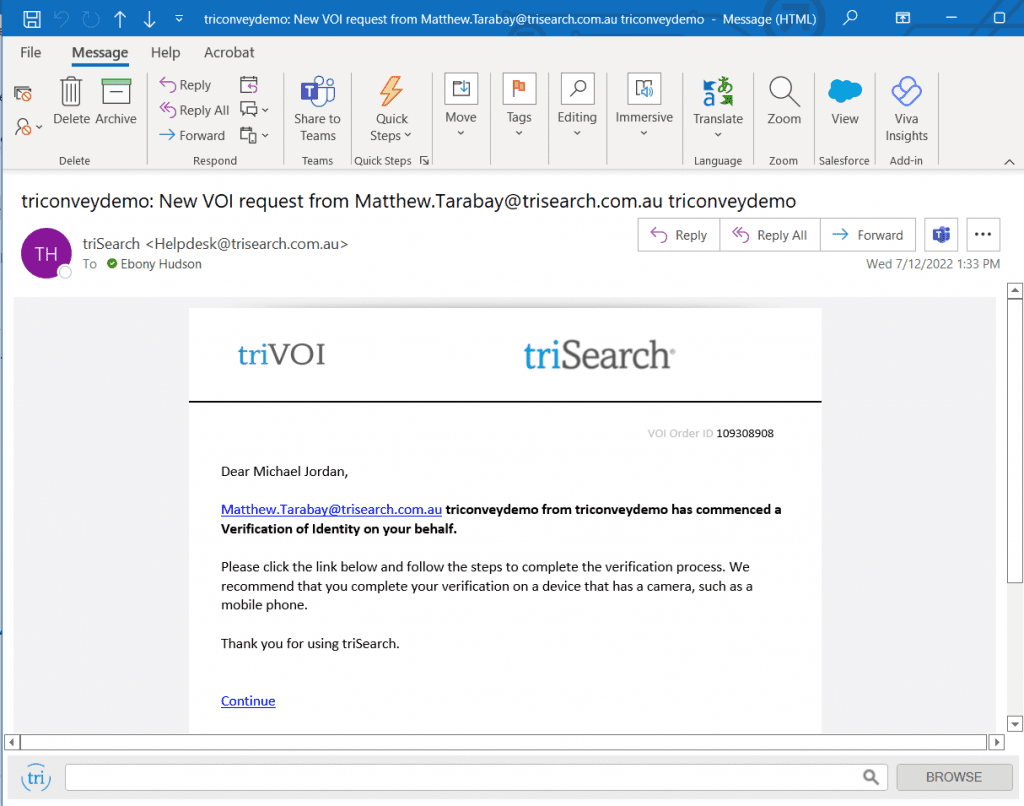
4. Client Receives Email
Your client will receive the notification to begin the process.
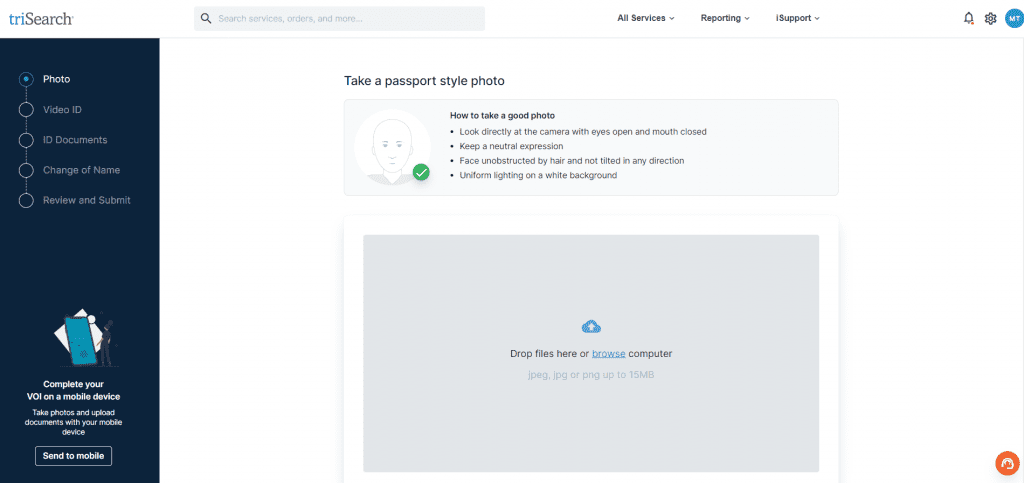
5. Client Uploads Documents
Your client will need to enter in their details and add proof of ID up to 100 points. Your client will be asked to take a photo of their IDs and cannot continue until they have done so sufficiently.
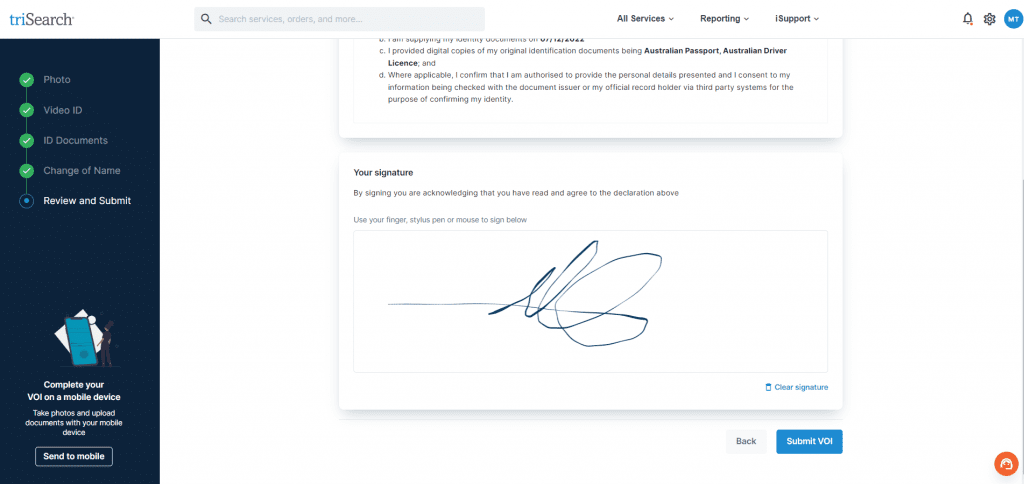
6. Client Submits
Your client in this process will be to sign the declaration in the tool that their documents are true and correct. Then select submit.
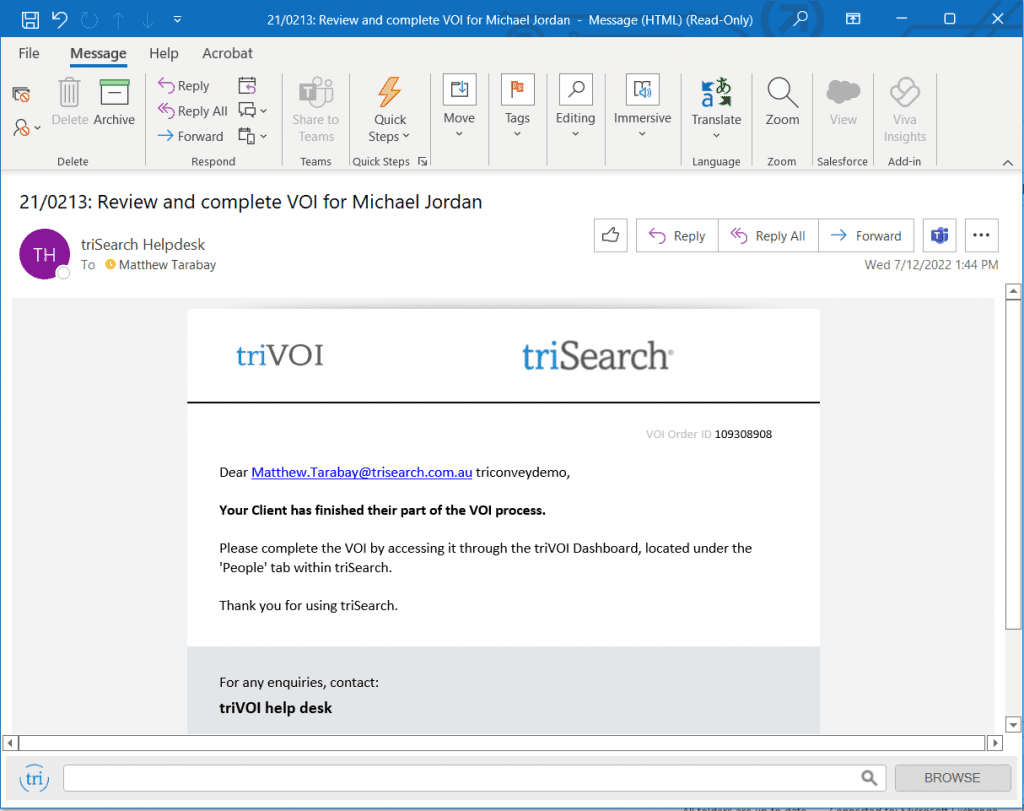
7. Notification of Completion
Once your client has submitted their verification, you will the receive an email confirmation.
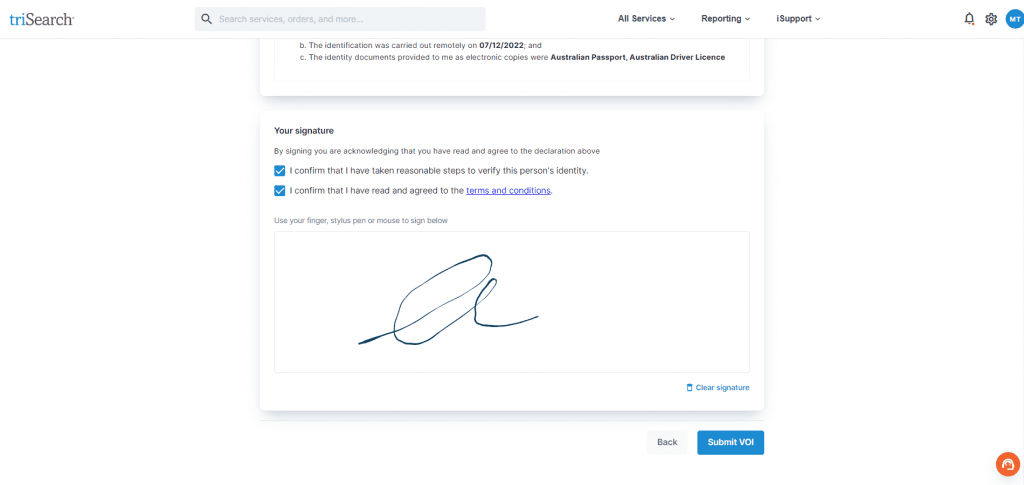
8. Review, Sign & Submit
In the submitted email you will be prompted to review and sign declaration, declaring you have taken reasonable steps to verify your client. Once you have signed you will be taken to a summary screen and provided a unique code to download your finished VOI as a PDF.
triVOI also integrates with the powerful conveyancing solution, triConvey. Your firm can launch a VOI from directly in the contact card of any property matter, with all relevant details populating into triVOI for a smooth and easy workflow.
To find out more about how you can utilise our one-stop shop for your conveyancing needs, book a demonstration.